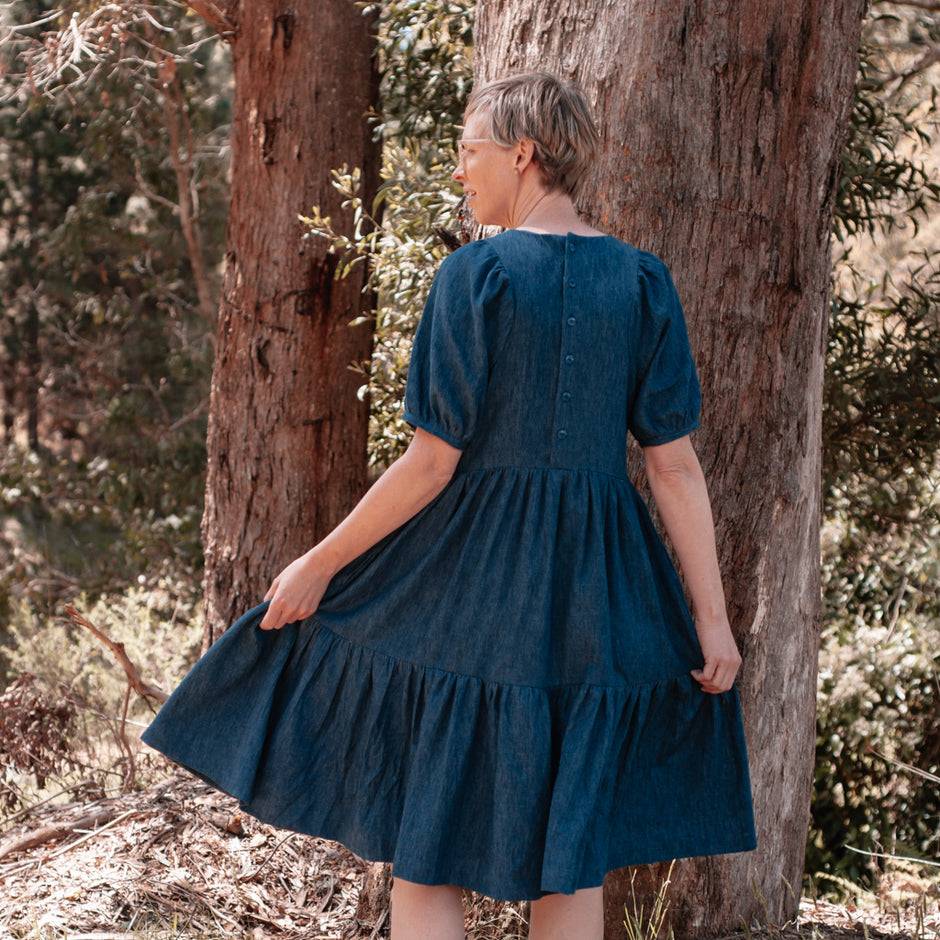

I bought this beautiful woollen fabric and pattern for a winter coat last year from MaaiDesign and by the time I 'had time' it was summer already! So the Nova (formally Sapporo) winter coat from Papercut Patterns has been sitting in my 'to make' pile for far too long! The near freezing temperatures, and lack of 'me made' outerwear have sent me diving into my stash and renewed my ambition.

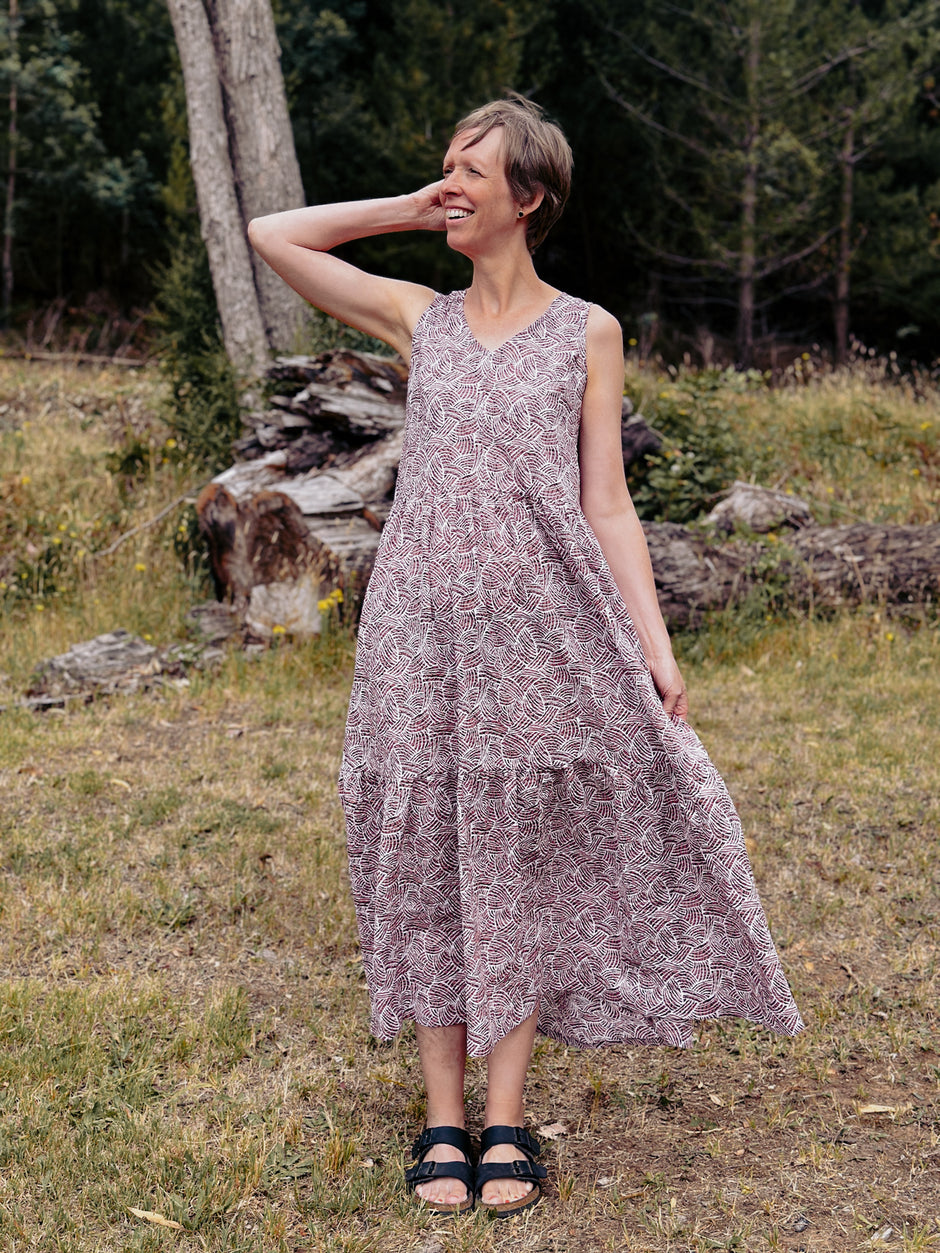
I'm one for colour! In my very humble opinion, the world doesn't need another black or grey coat to add to the crowd. So when I saw this colour blocked beauty by Tabitha Sewer, I knew this coat was perfect as a canvas for bringing 'happy' back to the streets in winter!

Working with boiled wool is not something I do very often and it's quite the investment in fabric (read expensive!) so I did what every sensible girl does and before I put scissors to fabric, I called my dad. Yep - you read that correctly. My dad happens to have spent over 40 years working with wool at CSIRO so he's the man with all the info as well as the reasoning behind the practice!
So here's what I learned about working with wool from the man who can knit it, weave it, scan it and tell you its chemical make up and properties...
1. You can iron out the creases.

My wool had been stored for almost a year by the time I got to it, and my toile fabric (practice black wool) had been in storage for over 9 years. Those fold creases were deep!
Dad says, "What you need is to exceed the glass transition temperature of the wool (160 degrees Celcius) - it enables the microstructure of the fibre to re-line permanently." What he means is that wool has a memory. And you can reset that memory if you take it just past the right temperature. What ever shape it's in once it cools will be the way it stays. You're not hurting the wool by giving it heat. You're retraining it into a different shape. Even if it gets wet, creased or ironed at a lower temperature it will bounce right back!
So you can use your iron on the 'wool' setting (maybe slightly past to just hit that golden temperature but then - to steam or not to steam? YES to steam! Water helps the wool fibres to relax and straighten but only steam can get past the protective outer cover of the fibres. So here's the magical formula...
Heat + steam = permanent new shape for wool
(Mum is also shouting at me from down the phone line that I should always use a pressing cloth. Dad can't see why you need one if you use the right setting. I did both and the results were exactly the same - sorry mum!)
2. Iron on interfacing is probably not your best friend.

See those little dots on the interfacing? Yeah, me too. You're not supposed to. This is a pattern piece that's supposed to be ready to go. The dots are the glue that needs to be melted at a really hot temperature (220 deg. C). Usually I put my iron on maximum setting to adhere the interfacing, but in this case the wool would scorch. That's what the shiny patches that magically appear on your fabric are.
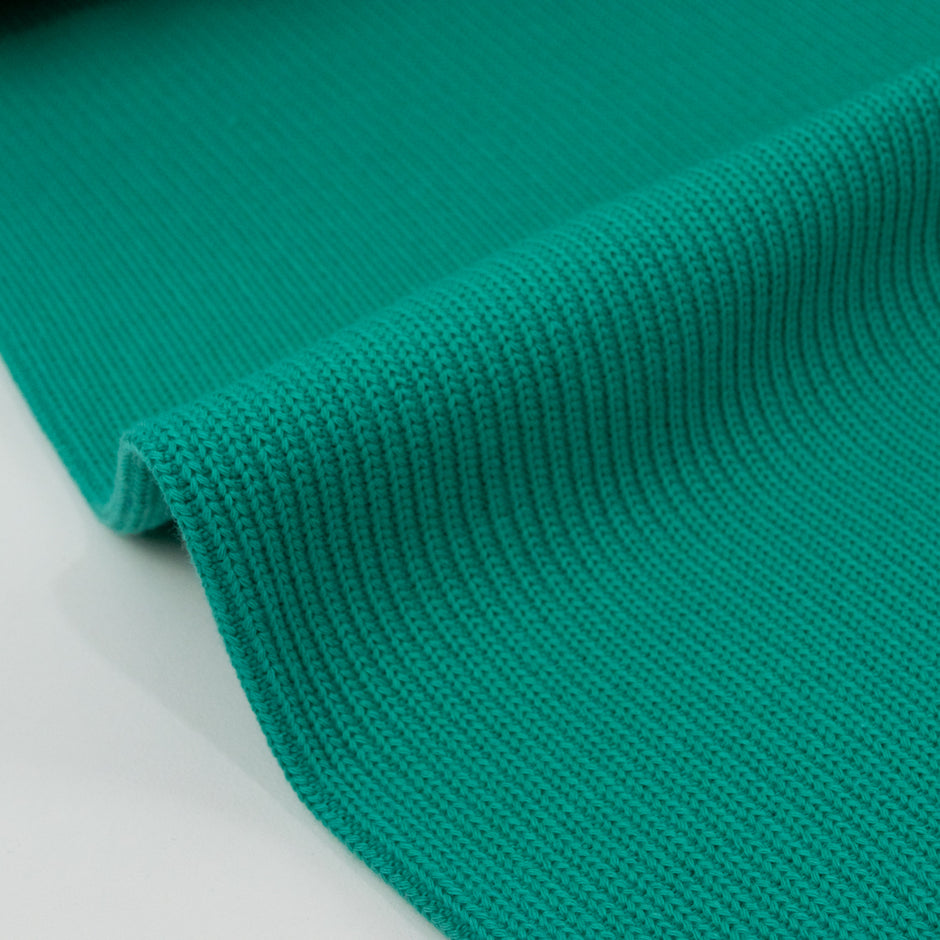
The stability of boiled wool means that it's probably fine to leave off the interfacing in this case, or use sew-in interfacing if you really really want to.
3. Pressing seams is ok but they will be permanent - so be sure that's how you want it. (Also press from the back.)
You could be tempted to skip the pressing of seams - I even read somewhere on the interwebs that 'finger-pressing only' was recommended for working with boiled wool. But if you follow tip 1. then you know that pressing seams is totally fine. In fact the silhouette of the jacket would be lost without those crisp edges.
Do you want extra crisp with that seam? Use a tailors clapper (or really heavy book) straight after applying steam to the garment. This prevents the stiff fibres from springing back and 'setting' in not quite the perfect position. Clappers got you curious? Check out what I'm talking about here.
Also press from the back of the garment. This is why...

4. For an outer garment, be sure to check the finished garment size for the final fit.
The general consensus with the Nova coat is that you can easily go down 2 sizes from the one recommended on the packet. I had to go down 3! This is because I'm a DD cup and the pattern block (the body the pattern is made for) is a B cup. Papercut Patterns have since released the Nova Coat in a Curve variation, which you can find here.

So here's what I should have done.
1) Take my measurements with all my clothes on (so I know it will fit over the top of them all).
2) Compare those measurements to the finished garment size, adding a generous amount for movement.
I'd recommend this process for any coat-like garment. Good thing I made a muslin/toile (practice run for fit) before cutting into my beautiful fabric!
5. Don't play fabric chicken when it comes to colour blocking.

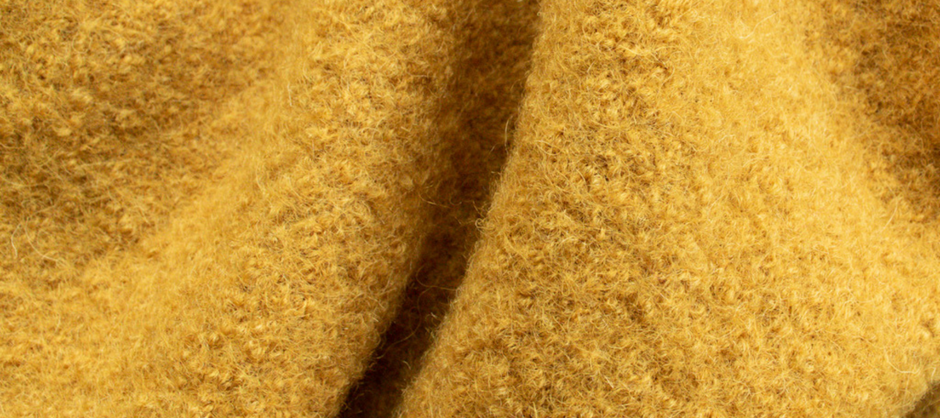
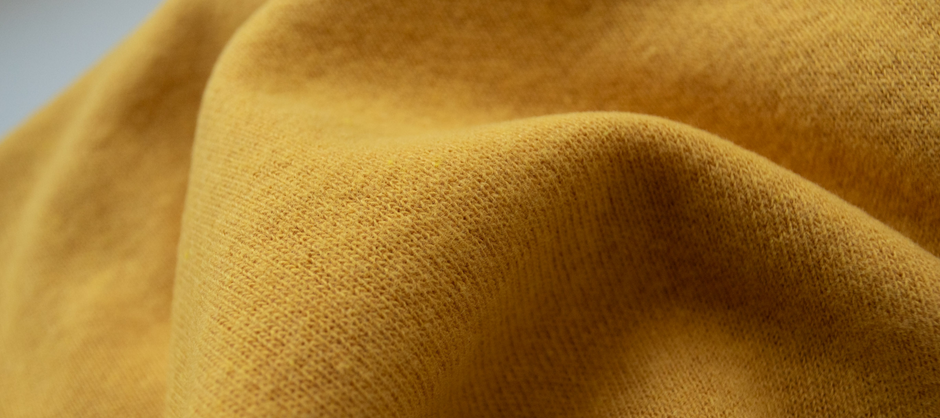
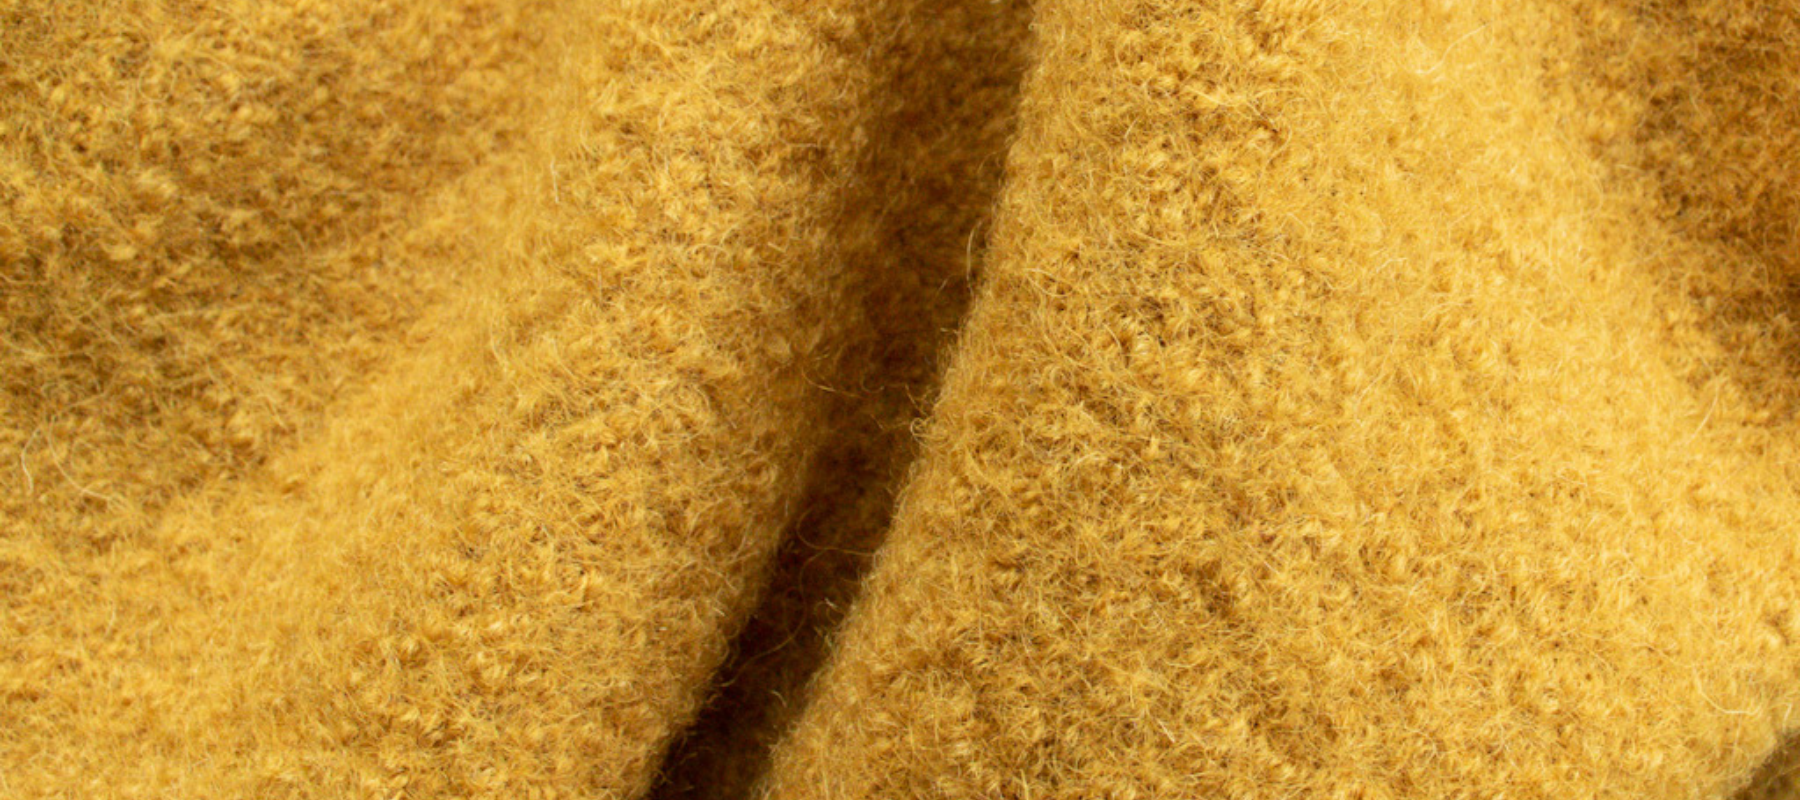
I did - and I lost. Of course it's last years stock! This coat is particularly fabric hungry because there are so few pieces. I bought 75cm of the bottom raspberry (and I really should have bought 1.5m) and 50cm of the mustard yellow (when I should have bought 1.25m) for the size 2 coat in the short version.

Thankfully Maaike has just restocked all of her boiled wools and both of these beauties were available! The colours are just beautiful and I love the bumpy texture! Check them out here. Now that I've reordered the mustard, I solemnly swear not to play fabric chicken with wool ever again.
----
Well that was one fairly technical article - congratulations for getting to the end! Now that you're armed with all the information, you'll be sewing up the winter wool coat of your dreams in no time!
(There is also an excellent photo sew step by step guide on the Papercut Pattern's website for the the Nova coat here if you're planning on joining me!)