

This weekend I sewed a laptop pouch for my daughter.
I shared a few pictures on social media and as many were asking how I created this, I thought I would explain it here on the blog.
A pouch like this is pretty easy to make actually. I didn't use a particular pattern but used elements of what I've learned from bags and pouches I have made previously.

Two years ago I made this laptop bag (picture above) for my eldest son in denim. This one was really time consuming and tricky to sew due to the zipper going around the corners. It's hard to explain but once you are trying to sew the zipper around the corner, and this corner is hidden with the lining on top and padding in between, it gets really fiddly. So I promised myself not to do that again.
So a more simple design would have to do this time, and really, it works just as well.

I basically used the design and method of the Open Wide Zippered Pouch tutorial by Noodlehead. By extending the zipper past one side, you can open the pouch wide enough to easily slide a laptop in and out. Plus the tab makes it easier to close the pouch. (I didn't do the shaping of the bottom corners at the end, as mentioned in that tutorial, as it is not necessary here.)

First I worked out the dimensions. This laptop is actually the same size as an A4 sheet of paper, so about 30x21cm.
So I cut pieces of fabric measuring 37x26cm. This allowed for 1cm seam allowance on all sides plus ease for the thickness of the laptop and a bit of extra room on the sides to get the laptop in and out easily, you don't want it too snug. Plus you need to add padding too.
(Note: a cm less in width would have been fine too - so 36cm - but I added the extra as to allow room for a drawing pen that sticks to the side of the laptop)
I also added a zippered pocket on one side. For this I used a method I also learned from Noodlehead, I explain how to do that in this blog post (see step 3) I just made all the pieces of fabric the same size.
So here is what I cut:
- 2 pieces of 37 x 26cm in outer fabric
- 4 pieces of 37 x 26cm in lining fabric (2 to line the inside, and 2 to create the front pocket)
- 2 pieces of padding of 33 x 23cm (use foam or wadding)
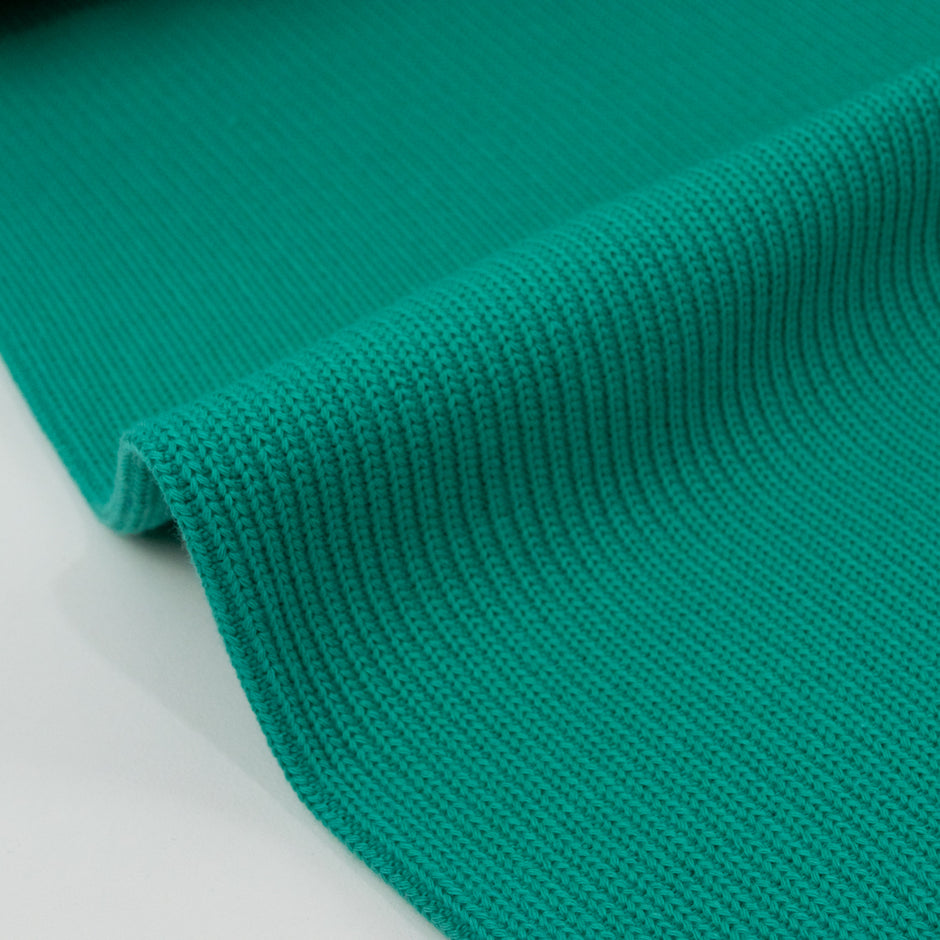
For the outer fabric, I used a canvas fabric, the lining was a solid canvas I had in my stash (from Ikea) but you can use a regular cotton too. For the padding, I used a piece of foam which was a packaging material from a new office chair. But you can use wadding instead. Or By Annie's Soft & Stable stabiliser is fantastic too.
A denim works really well for the outside, or if you want to use regular cotton, apply a heavy interfacing to the back to give it more strength and structure.
I used 2 zippers, they were a bit longer than what I needed so I just cut them to size. So the length of these are of course determined by the size of the pouch you are making.
Buy good quality zippers and try zipping them up and down a few times before you buy. The zipper is what will determine the lifespan of the pouch, it will be the first thing to fail.
I didn't use a chunky plastic one this time for the main opening (I did for the side pocket) as I find the teeth break off too easily.
The foam padding pieces were inserted right at the end before I closed the hole in the lining. If you are using iron on wadding, you can attach it to the external fabric pieces before sewing it all together.
You can use the same design for making insulated lunch pouches. I made these 2 years ago and they are still going strong:


I used a combination of regular fleece and insul fleece (both from Spotlight) as padding. Here I attached the layers of fleece by stitching it onto the outer pieces first, by stitching several parallel lines a few centimeters apart each time.
Don't use the basic webbing for the handles though as I did here, I have since needed to replace them with handles I made with fabric. The webbing just frayed and came out within weeks.
Once you've made a few of these, they are pretty quick to make and so very satisfying!
And don't forget to add a woven label for a wonderful finishing touch. ;)

The canvas fabric I used is from See You At Six, you can see their collection here.