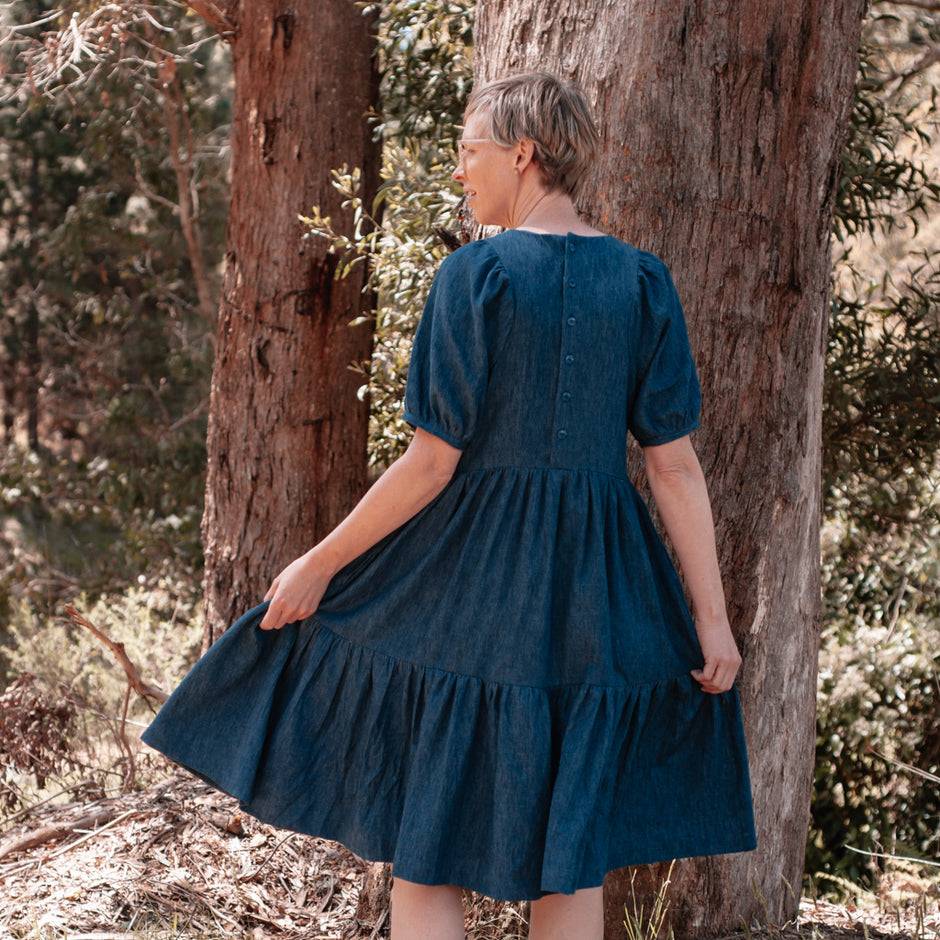
The transitional seasons, spring and autumn, often inspire me to analyse and work on my wardrobe. The changing of the weather serves as a reminder to check in on the items I'm wearing often, let go of anything that I'm not in love with, and figure out if there are any gaps in my wardrobe. This autumn, I realised I was lacking simple but polished tops, the sort that are easy to throw on with a pair of jeans but are more elevated than a t-shirt. This top was my effort at remedying this problem!
My name is Beata, and I live in the leafy suburb of Belgrave, on the outskirts of Melbourne, with my boyfriend and our two cats. I'm delighted to be a contributer for the MaaiDesign blog and look forward to sharing my makes with you all! If you want to hear more from me, feel free to come visit me on Instagram.
But back to this top! The MaaiDesign shop has a great range of fabrics that would be suitable for a casual but "put-together" woven top or blouse. I fell in love with all of the double gauze Stardust fabric by Atelier Brunette, which comes in a range of beautiful colours and features these pretty gold embroidered polka dots. I decided to go with the forest green colour for this top.
I wasn't sure if I was too late to jump onto the statement sleeve trend, but I'd seen a top online with dropped, gathered sleeves that I wanted to recreate. I decided to try to copy the look with a hack of a free pattern from the Avid Seamstress - the Drop Sleeve Top.

To give the sleeves more volume so they matched the inspiration image I had in mind, I used the "trace and slide" technique to double the width of the sleeve pattern piece. Basically, this involved tracing the left hand side of the sleeve pattern piece onto some paper, then sliding the pattern piece along to the right at intervals, tracing as I went. The result was a sleeve piece that was elongated or stretched out along the width, being double the width of the original pattern piece. You can see this in the picture below: the original pattern piece is on top, and my new pattern piece is underneath, with their left sides aligned.
This was gathered to fit into the armhole, giving me the voluminous gathered sleeves I'd been dreaming of! The only other change I made to the pattern was to deepen the hems on both the sleeves and the bottom, from 3cm to 5cm, as these were both a bit longer than I wanted when I tried the top on. I also interfaced the facing pieces, which wasn't listed in the instructions but I highly recommend doing for anyone else making this top.
I finished the top with a self-covered button for the back opening. It was my first time making a self-covered button and I love how it turned out!
It was also my first time working with double gauze, and I was impressed with how easy it was to work with. Nice to press, soft to wear, and I love the deep saturated colour. I had a little of the fabric left over and used it to make the pocket pieces of my (still in progress) Ginger Jeans, too!
I have to say I'm delighted with how this top worked out! It's exactly what I was after, and I think it'll get a lot of wear this winter and into spring. If you are after a classic, stylish piece that's easy to wear, I highly recommend you pick up some double gauze in your favourite colour and make your own version!
Photography by Ben Seyer Photography


